5 Tips To Product Photography That Sells
Is your product photography selling your products?
Photography plays a vital role for any e-commerce wesbsite. When shopping online customers can’t feel, touch, try or handle your products. The only way for them to interact is to look at your images that should give them an experience as close to "real life" as possible.The more attractive and well photographed your products are the more likely you are to make a sale.
We have asked Yeshen “The designer-maker community's favourite photographer" to give you 5 tips to improve your ecommerce product photography.
1.Plan
Organisation and preparation is everything in product photography. If you are working with a photographer they will really appreciate a detailed shot list and mood board. If you are shooting yourself, a solid plan will give you confidence and ensure you keep focussed.
Don’t forget to consider the end use of your images so you get the most out of the shoot. Website banners, promo materials and social media - each have different dimensions (width and height). Your web listings may be square, but your Facebook header will be long and thin.

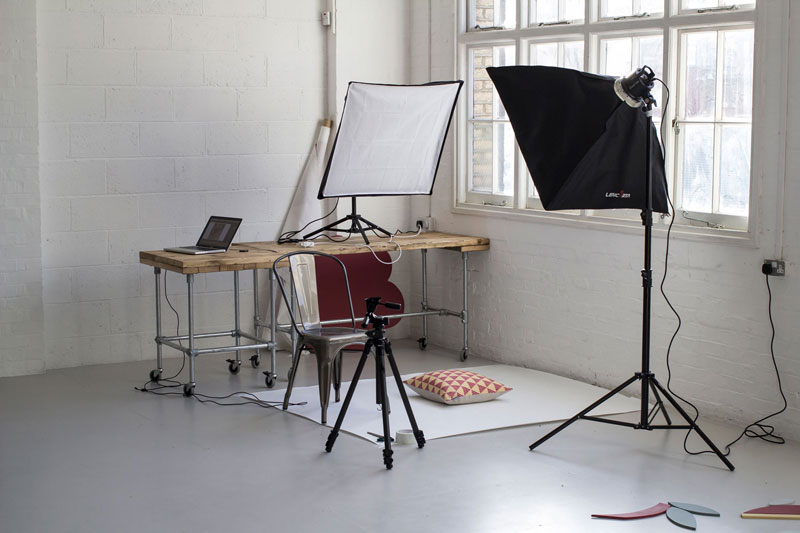
2.Light and space
If you are shooting jewellery, you may require no more space than a tabletop, but the quality of light and colour temperature are very important. The light should be pure daylight (like the sun at midday), but also diffused (softened) so a white muslin cloth can come in very handy. For jewellery that is particularly reflective, you may need a light tent.
Clouds are nature’s own diffuser, direct sunlight is actually one of the worst things for product photography as it creates harsh shadows.
For larger items, or for shooting clothing on models, you will get the most consistent results in a studio space where you can control the lighting. Shooting outside is problematic and best left to last minute ‘it’s great light’ opportunities, rather than wasting a whole day watching the rain come down. If you want to use your own home or studio, clear twice as much space as you think you need.
3.Context
The surface, background and props all influence how your product will appear to the customer. Choose each carefully, they all relate to each other. If you are not confident with styling, find someone who is, otherwise keep it very simple.
If you are shooting your products on a plain background it’s very important that the lighting, framing and relative scale of the products are consistent.

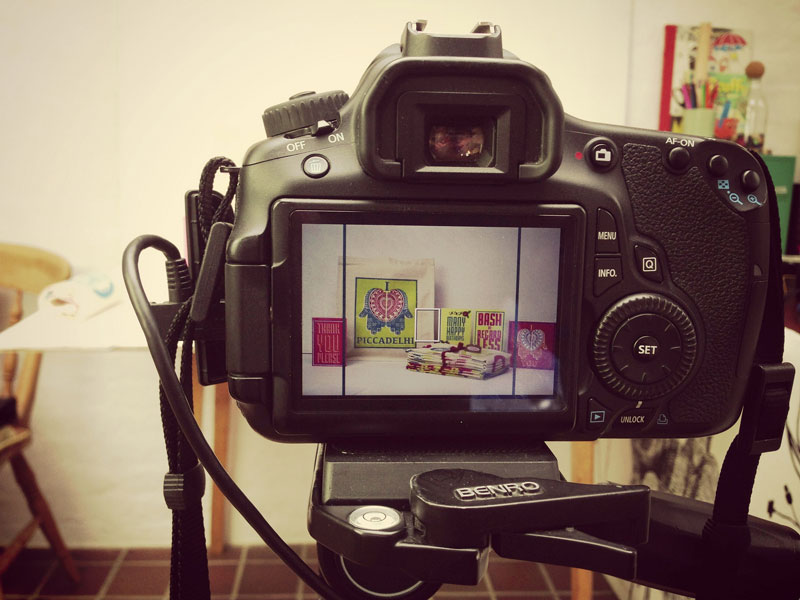
4.Focus
It’s all about the product so avoid clutter in your compositions. For your main product shot, most of the product should be in focus so the customer can see all of it’s features.
Shallow depth of field (in brief, shallow depth of field blurs everything other than the focal point) is great, but it can be overdone. You can however create depth by framing your product so that the background is out of focus, but not distracting this is one of the key differences between amateur and professional shots. The angle you have your camera at in relation to your product is crucial, try out some contrasting angles to see what a difference this can make.
For your secondary product shots, focus in on the details such as buttons, clips, labels, corners or other special features.
5.Know your camera
Use your camera in Manual Mode (M) and experiment by changing the aperture, ISO and Shutter speed. These three settings control the amount of light entering through the lens. A 50mm lens is one of the best all round options, however if you are shooting jewellery, a 100mm macro lens is a worthwhile investment. If you are using a compact ‘point and shoot’ camera it’s likely it will have a very wide angle of view, so use the zoom function (not too much) to counteract this and avoid distortion.
Make sure your images are as sharp as possible by using a tripod, delayed 2sec shutter release, longer exposure and low ISO (100 if possible).
..............
This guest post is by Yeshen Venema.
Yeshen has been called the ‘Designer/Maker’s favourite photographer’ by Confessions of a Design Geek. He also writes for blogs and magazines on the subject of photography and advises clients on how to setup and optimise their e-commerce and portfolio sites. See his work at yeshenvenema.com and follow @yeshen on Twitter.